★★★★★
Noah was straight forward and honest with the evaluation of our dryer vent. When he left I knew twice as much about my home and dryer than before he arrived. Very grateful for the peace of mind.
Read on GoogleS
Shane W
5 months ago on Google

A dryer that takes two cycles is not a dryer problem, it is a vent problem. We check the whole run from the back of the dryer to the outside cap and show you where the air stops.
Or call +1 (737) 299 19 19for free inspection
Lint fires start in the part of the vent nobody can see: the run inside the wall or across the attic, and the termination on the roof where the flap has not opened in years. The transition hose behind the dryer is only the first three feet of it.
So the inspection follows the run. It starts behind the dryer, goes through the duct to the outside, checks the cap, and ends with the lint we pulled and the airflow at the end. Six steps, photographed, and usually about thirty minutes.
Every step below is part of the same free visit. Under each one: what we check, what can go wrong, and what we photograph so you can see it yourself.
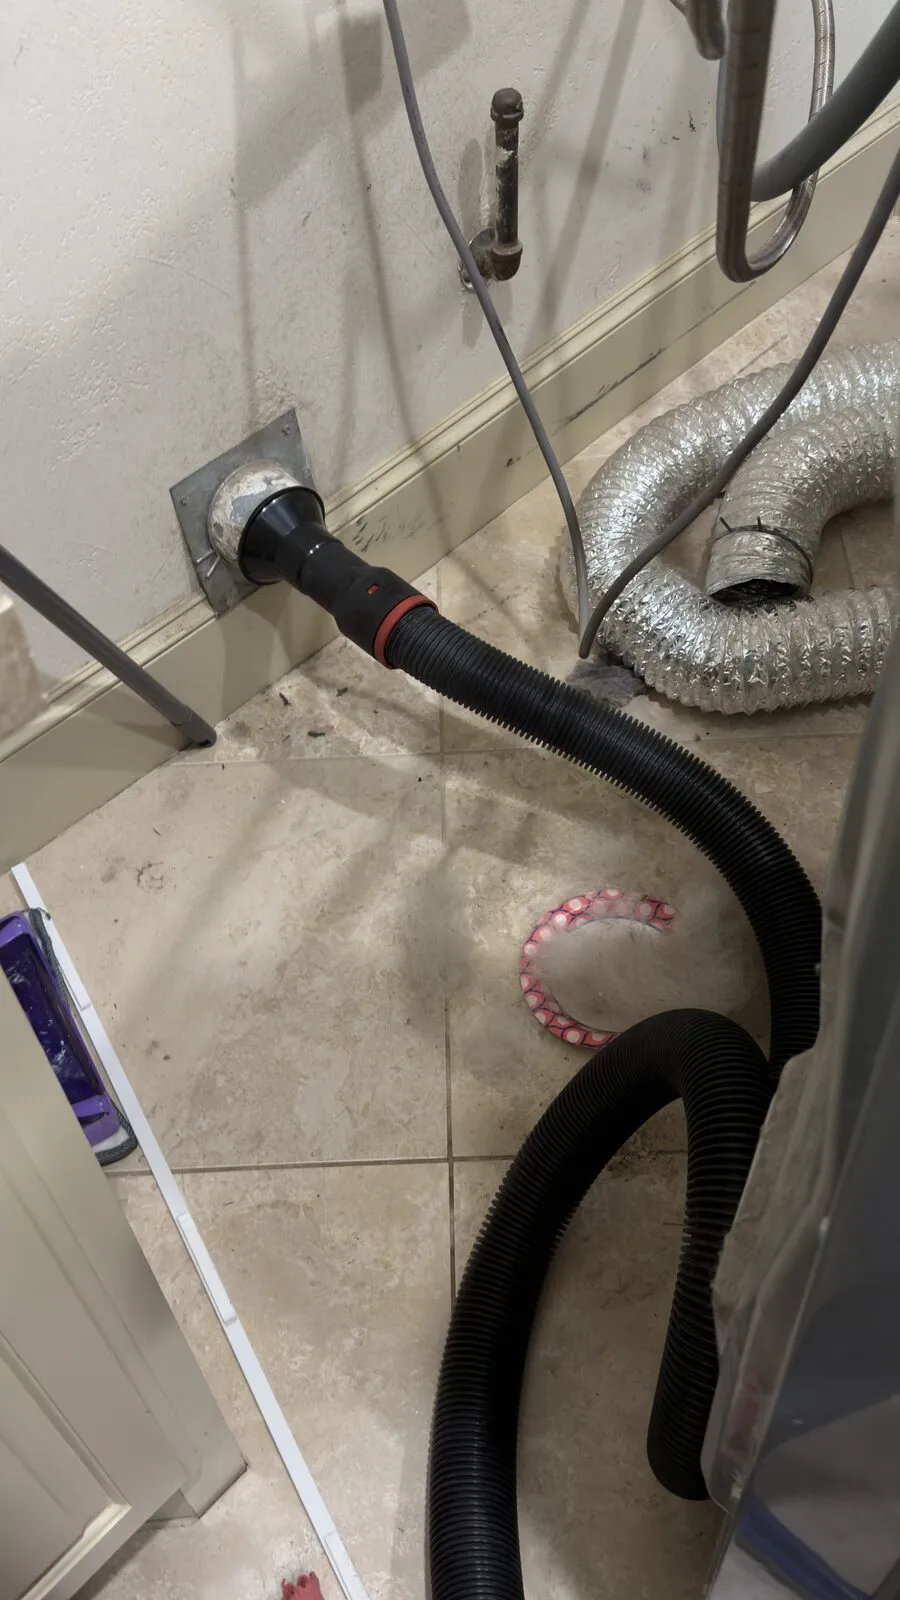
We pull the dryer out and check the transition hose, the clamps and the connection to the wall: the material, the length, the kinks and the lint already sitting in the first bend.
White vinyl or foil hose that is crushed behind the dryer, a run twice as long as it needs to be, a hose that has already separated from the wall collar.
The hose and both connections, and the lint in the first section.
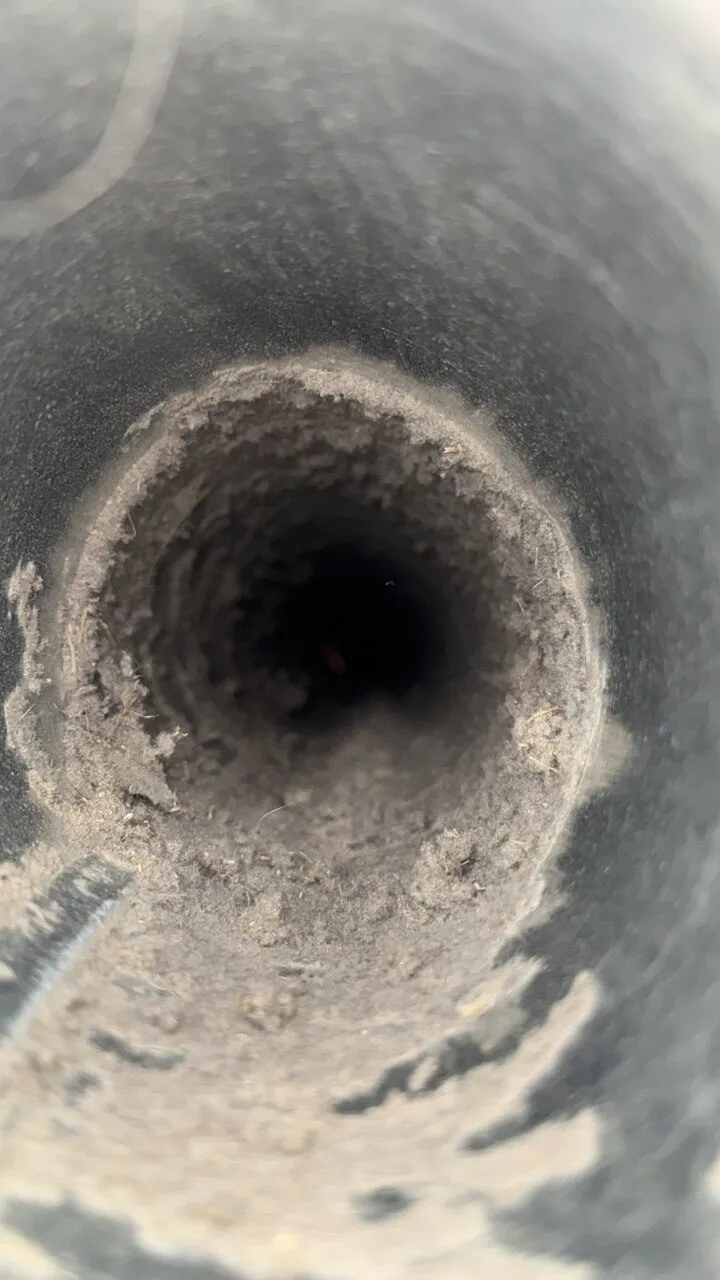
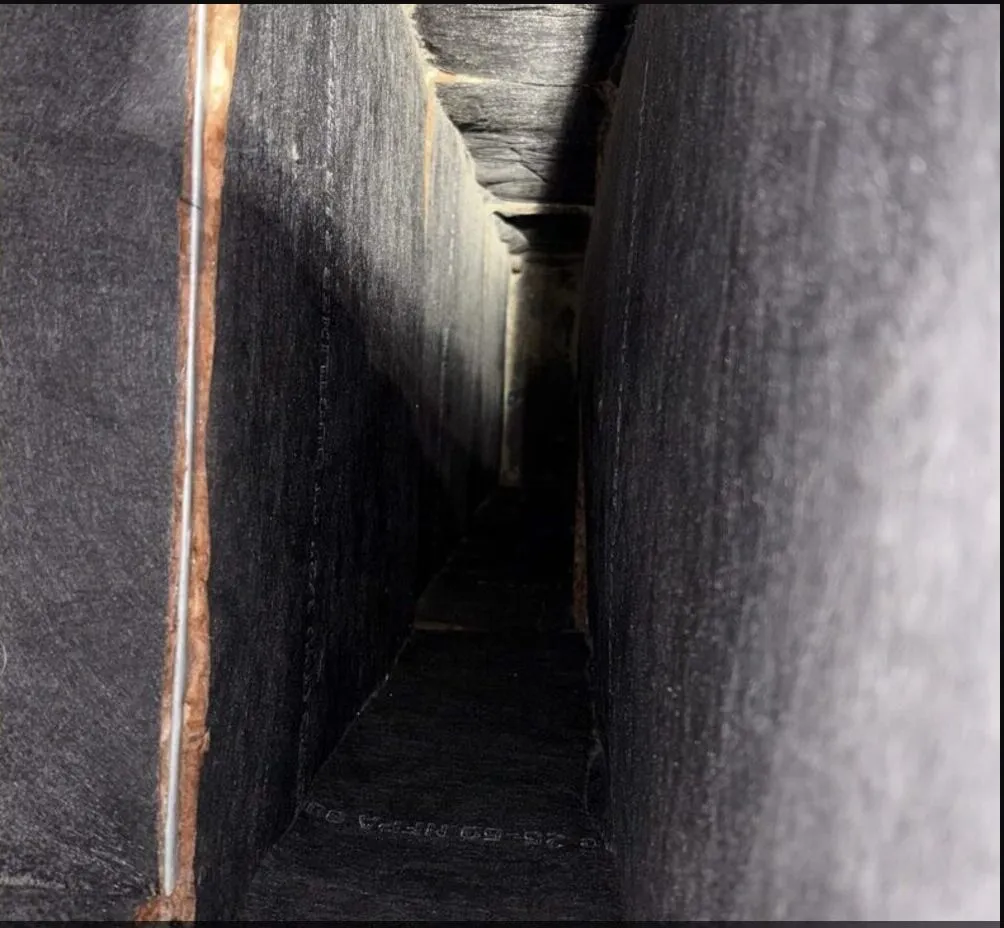
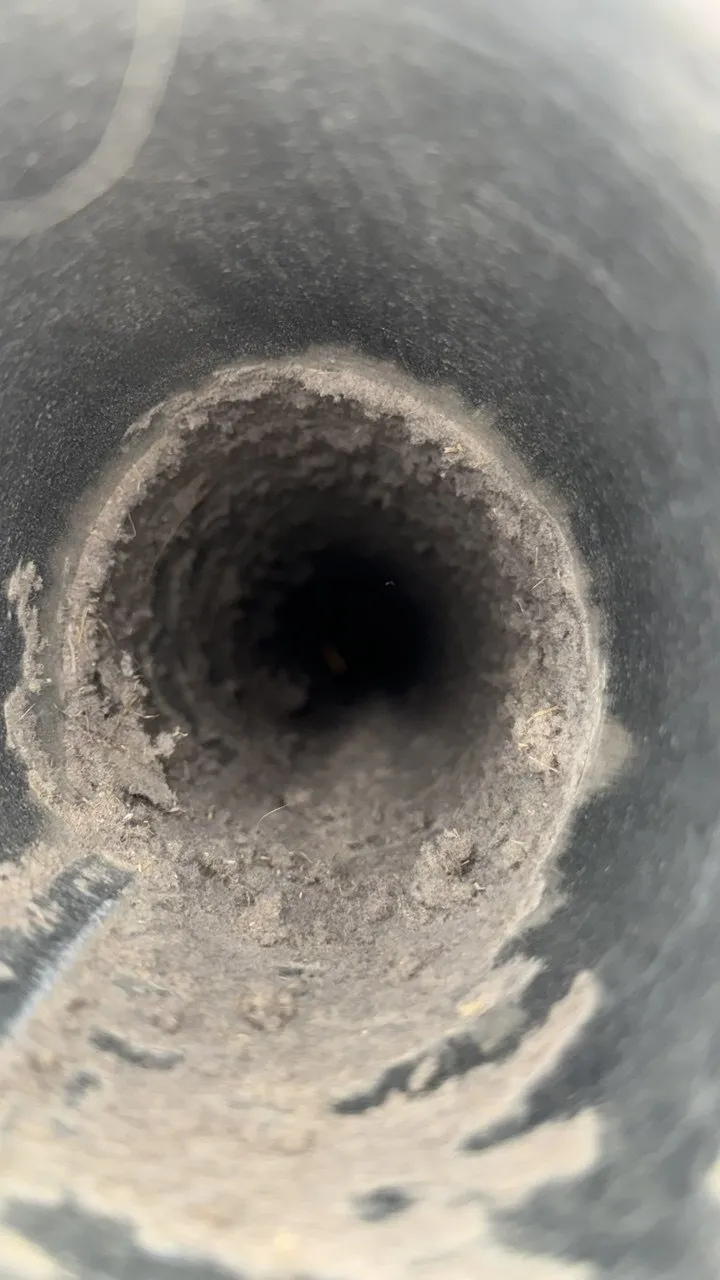
We look inside the duct with a camera or a light and check the lint depth, the joints, and whether the run is rigid metal, flex, or a mix of things someone pieced together.
Lint packed halfway up the duct, screws through the joints catching fibers, a flex section in the attic sagging and holding a pocket of lint.
The inside of the duct at the start of the run, and any section that is packed or damaged.
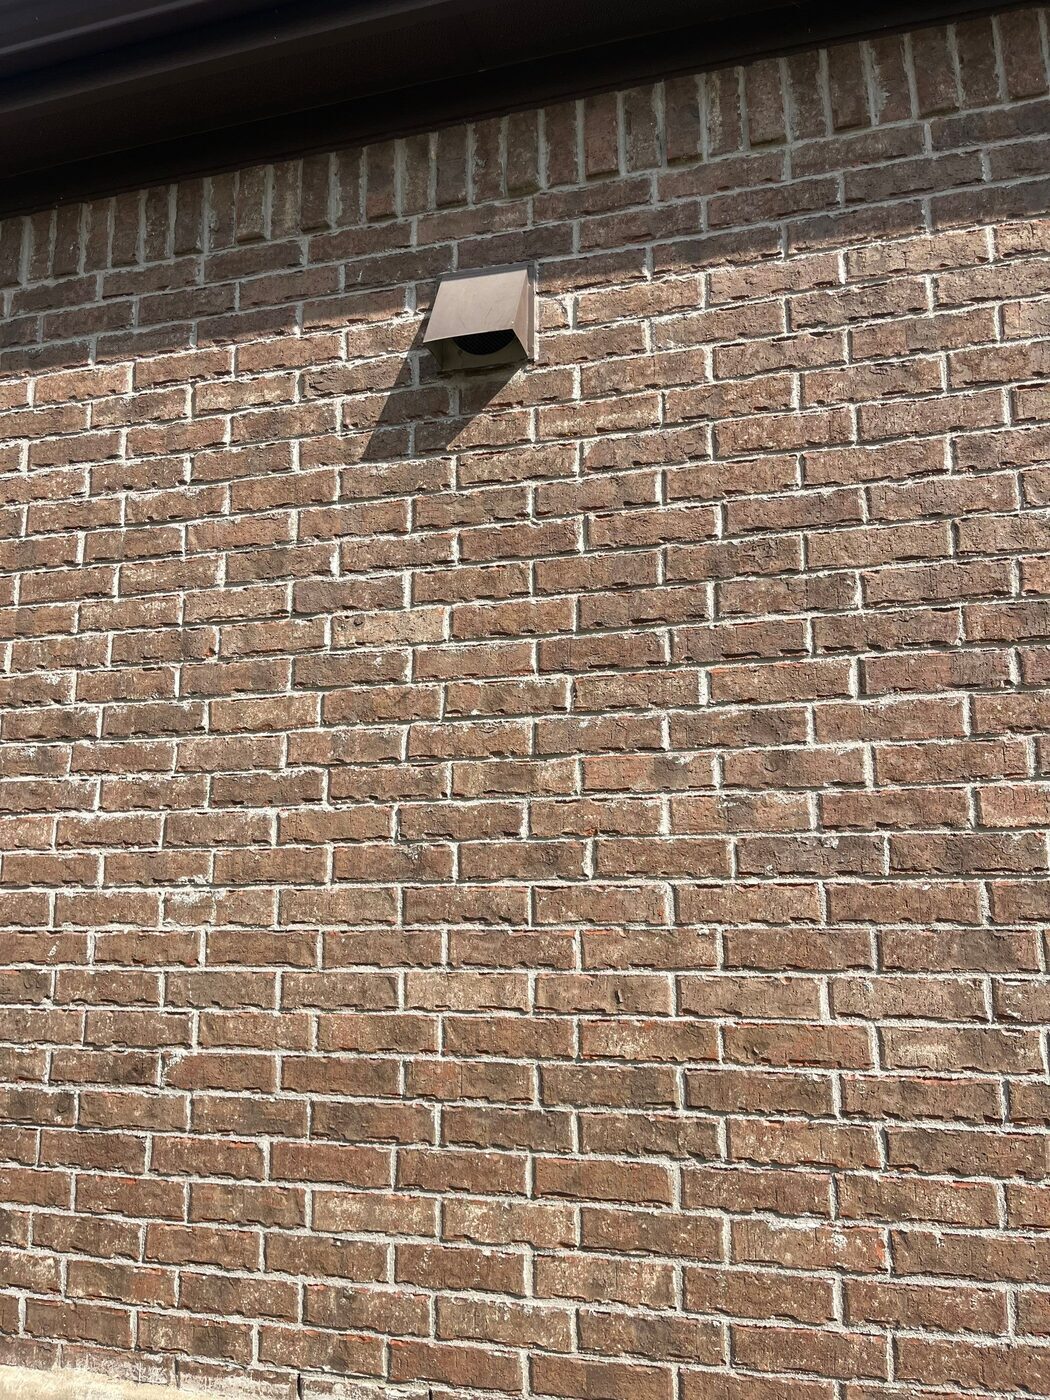
For a wall exit we check the outside cap: does the flap open, is the screen clogged, is there a bird guard packed with lint, and is the cap sealed to the wall.
A flap frozen shut by lint, a cap with a fine screen that catches everything, a nest behind the flap.
The cap closed, the cap open, and what is behind it.
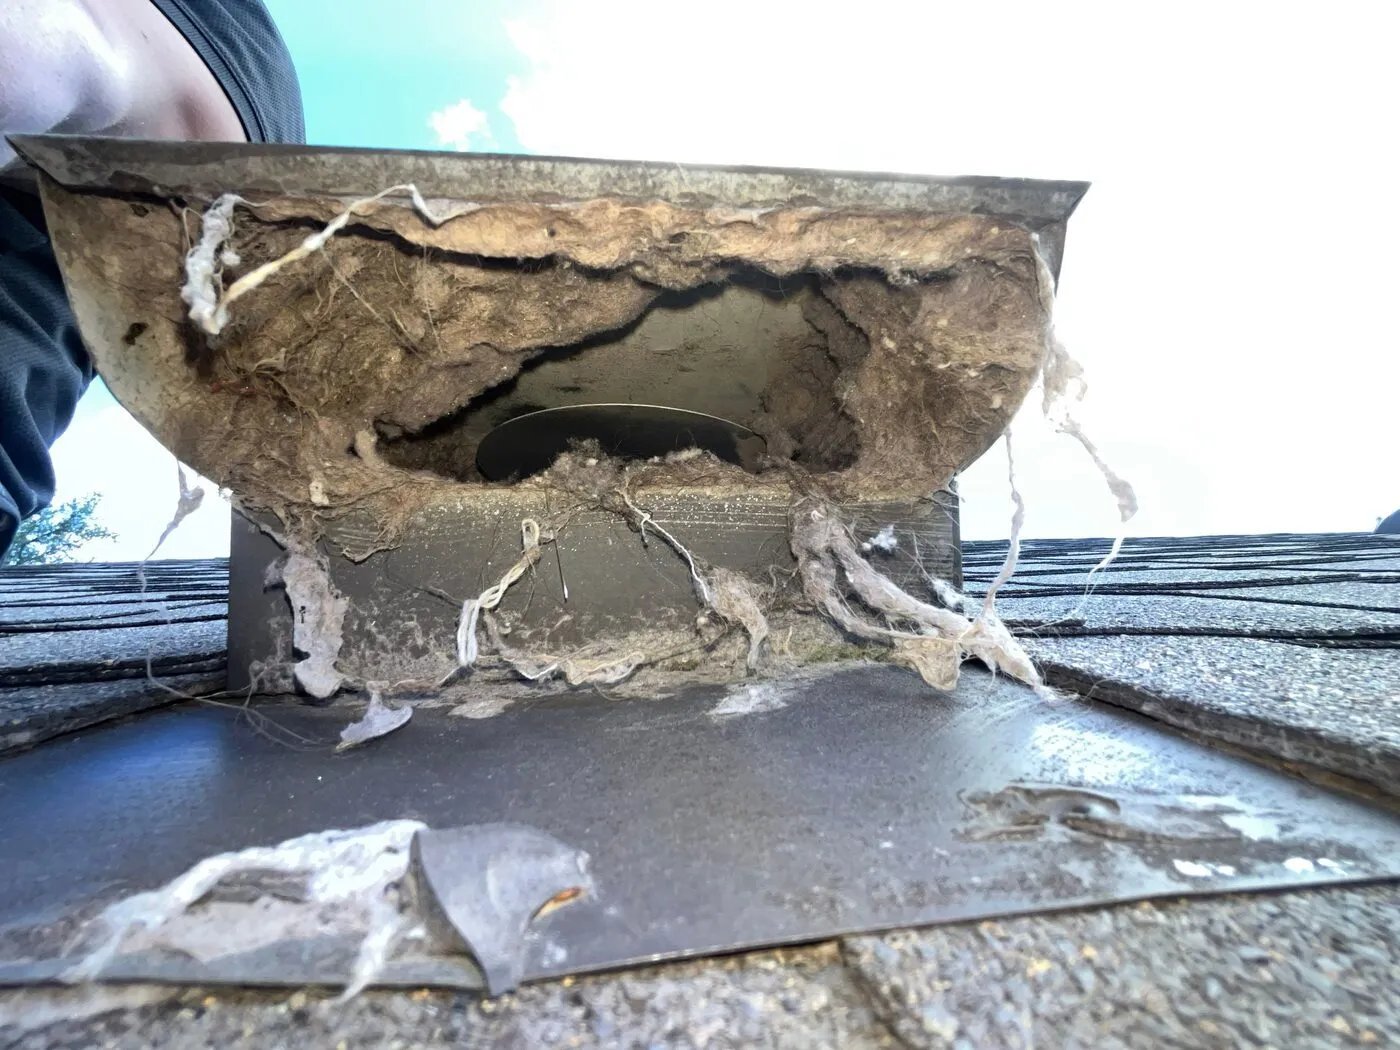
For a roof exit we go up and check the roof cap: the flap, the screen, the flashing around the boot, and how much lint has collected under the hood.
A roof cap completely blocked by a lint mat, a boot leaking into the attic, a cap that was never intended for a dryer and has a mesh screen.
The cap from the outside, and the lint inside it.
After cleaning, or as part of the inspection when the run is accessible, we show you what came out and test the airflow at the termination with the dryer running.
A full bag of lint from one run, and a flap that barely lifts with the dryer on high.
The lint we pulled, and the airflow at the cap.
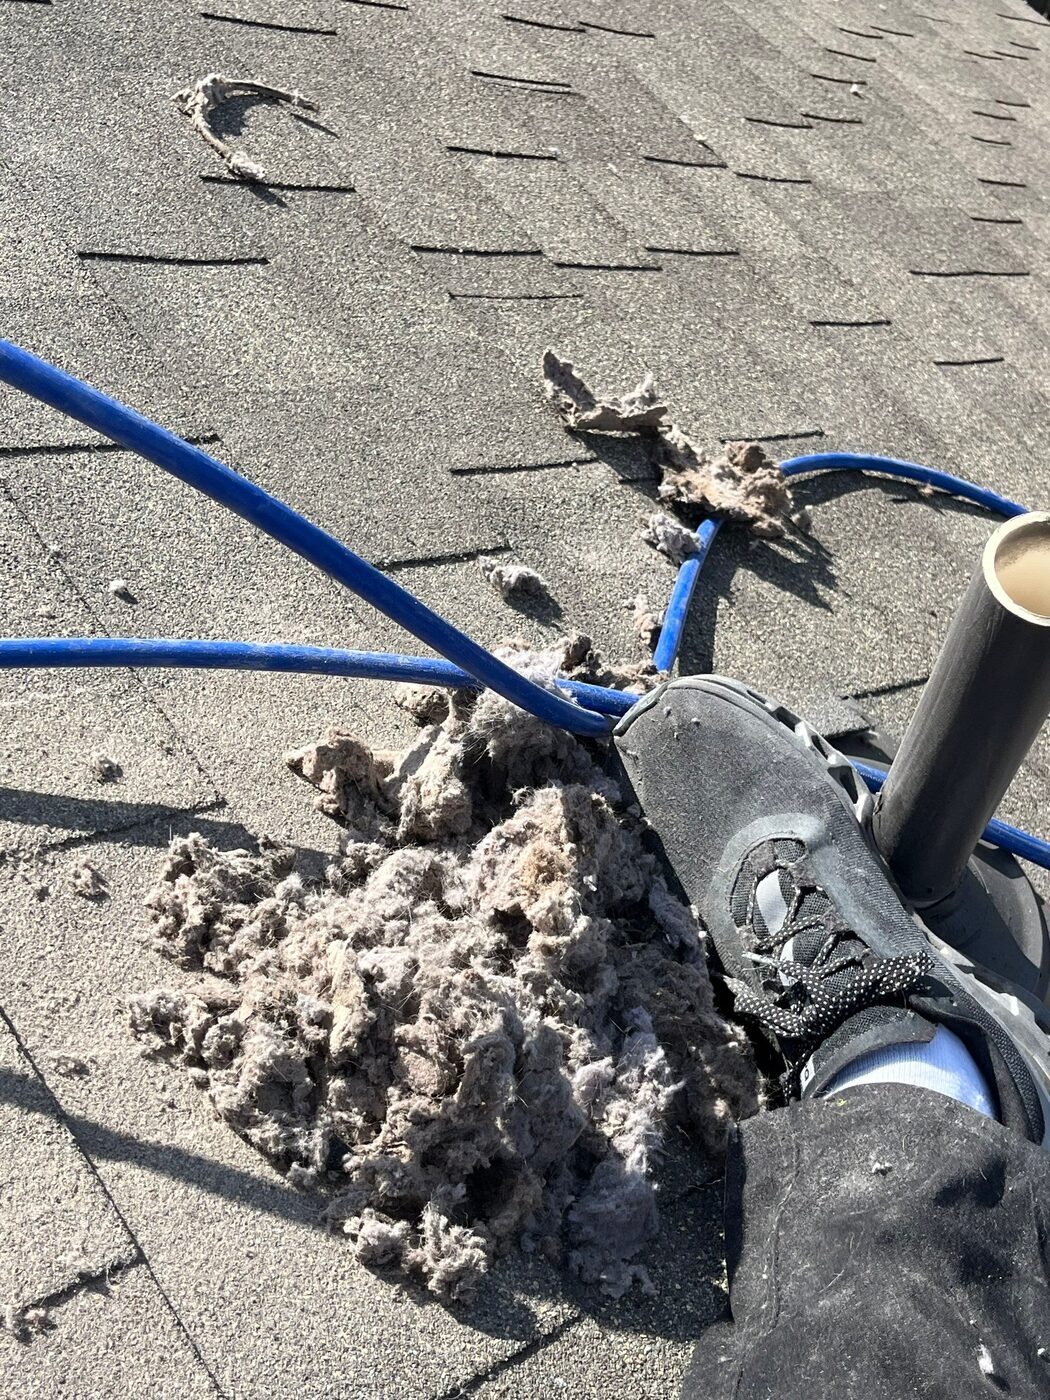
The technician documents the run end to end: the connection, the duct, the termination, the lint volume and the airflow. If something needs replacing, you see the photo of why.
A vent that "looked fine" and a dryer that keeps taking two cycles.
Everything above, in order from the dryer to the outside.
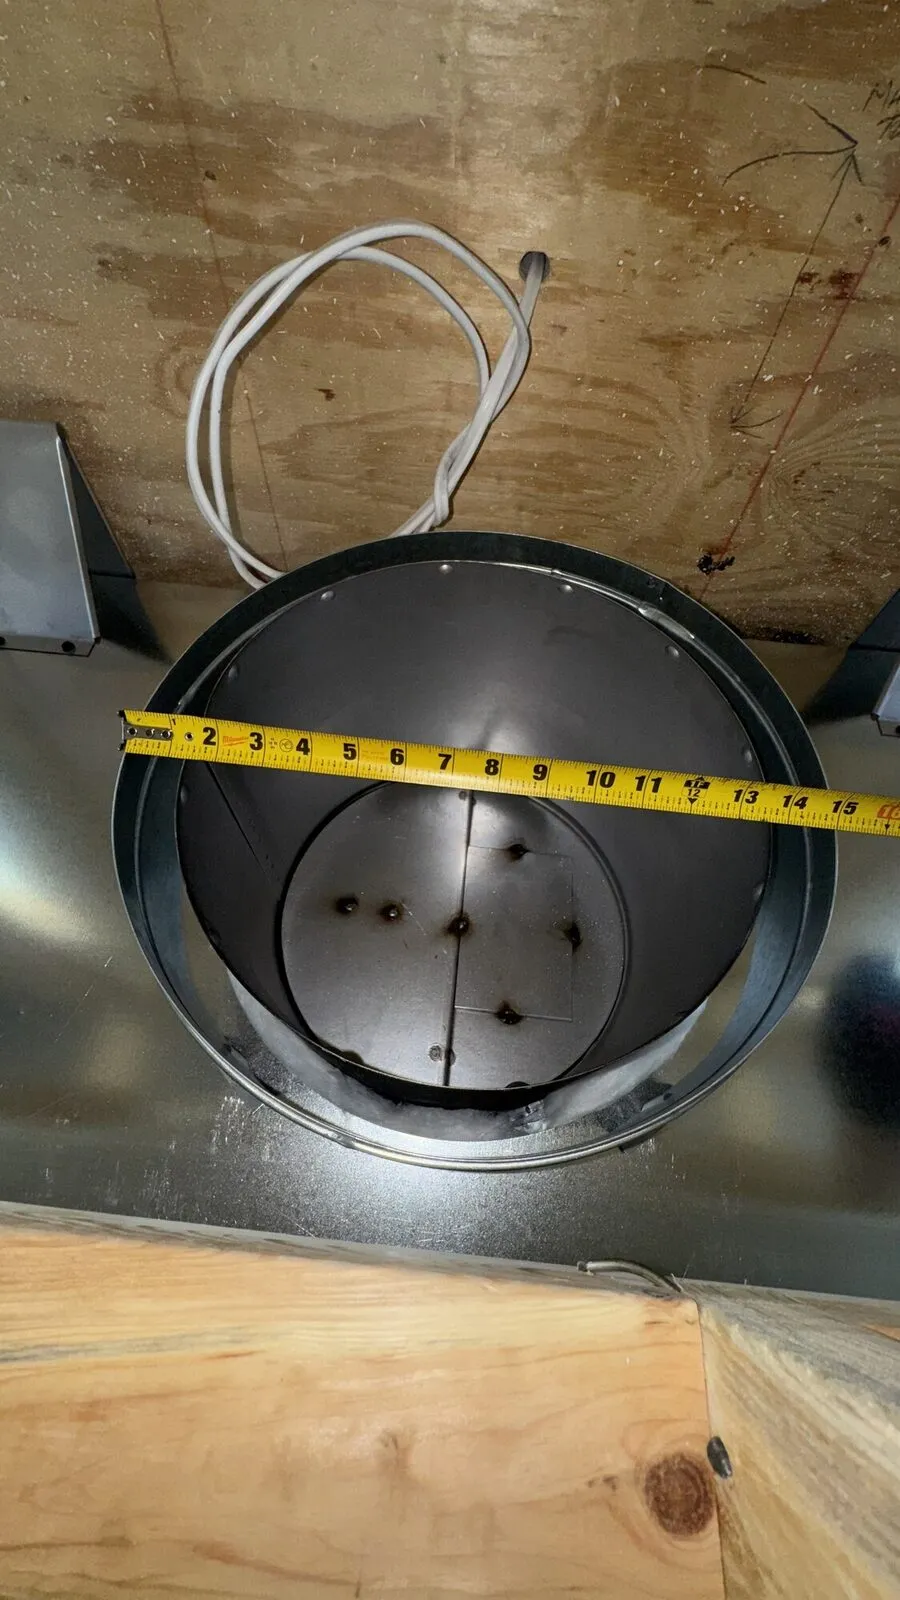
Our rule for every technician: No recommendation without documentation. If we recommend cleaning, repair, sealing or replacement, you see the photo that explains why.
The full run: the transition hose, the duct, the termination, the lint volume and the airflow at the end. If the vent is clean, we tell you. If it needs cleaning, a new cap or a rigid run to replace a flex one, you see the photo of the reason before you see the price.
If the inspection finds something, these are the services it points to. If it finds nothing, you keep the photos and we leave.
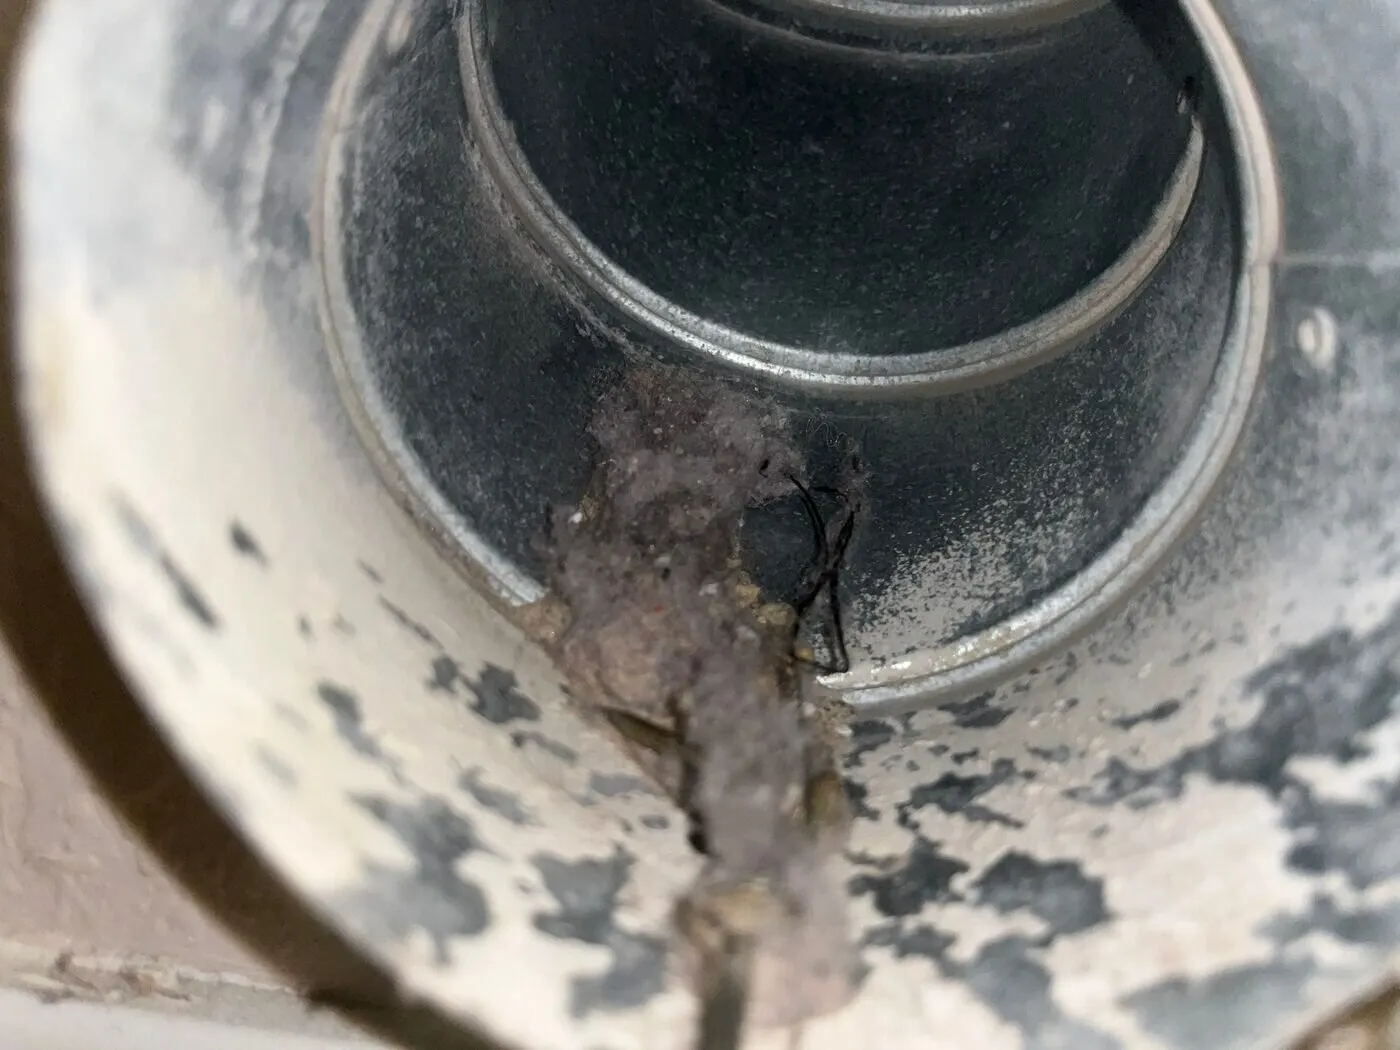
Clothes dry in one cycle again and the number one cause of laundry-room fires is gone. About 30 minutes, cap to dryer.
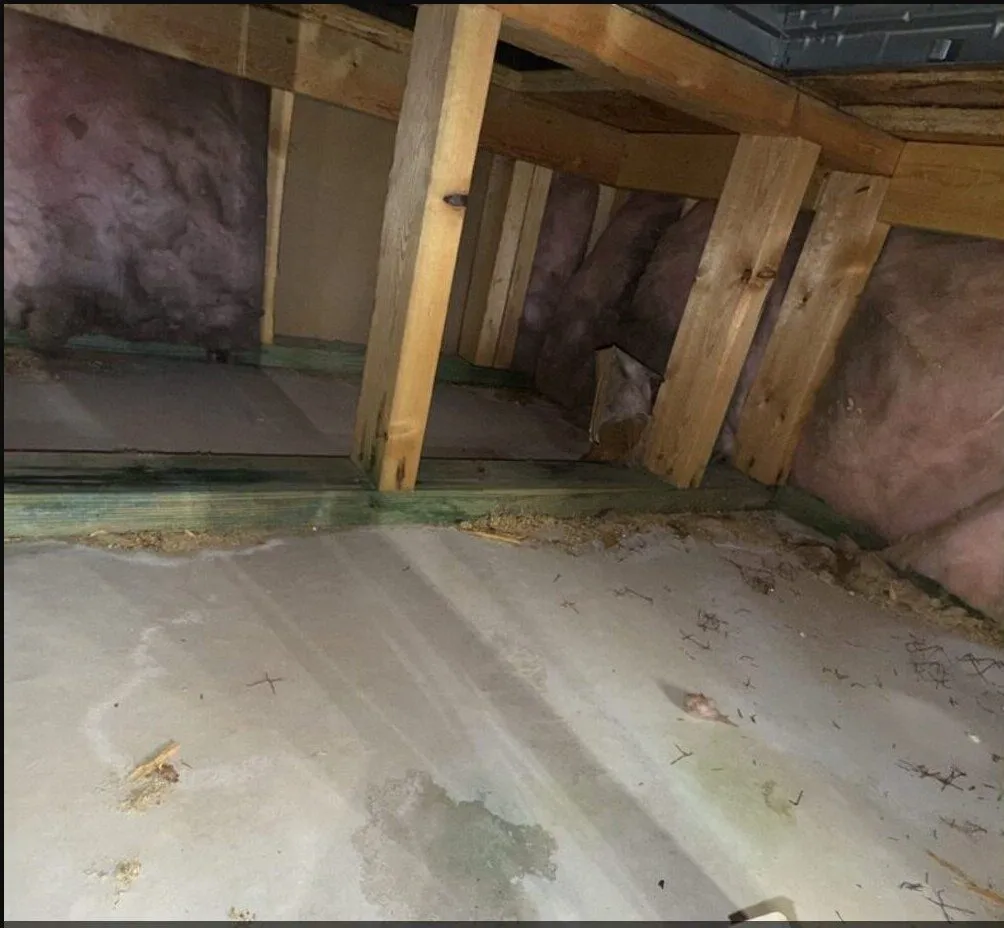
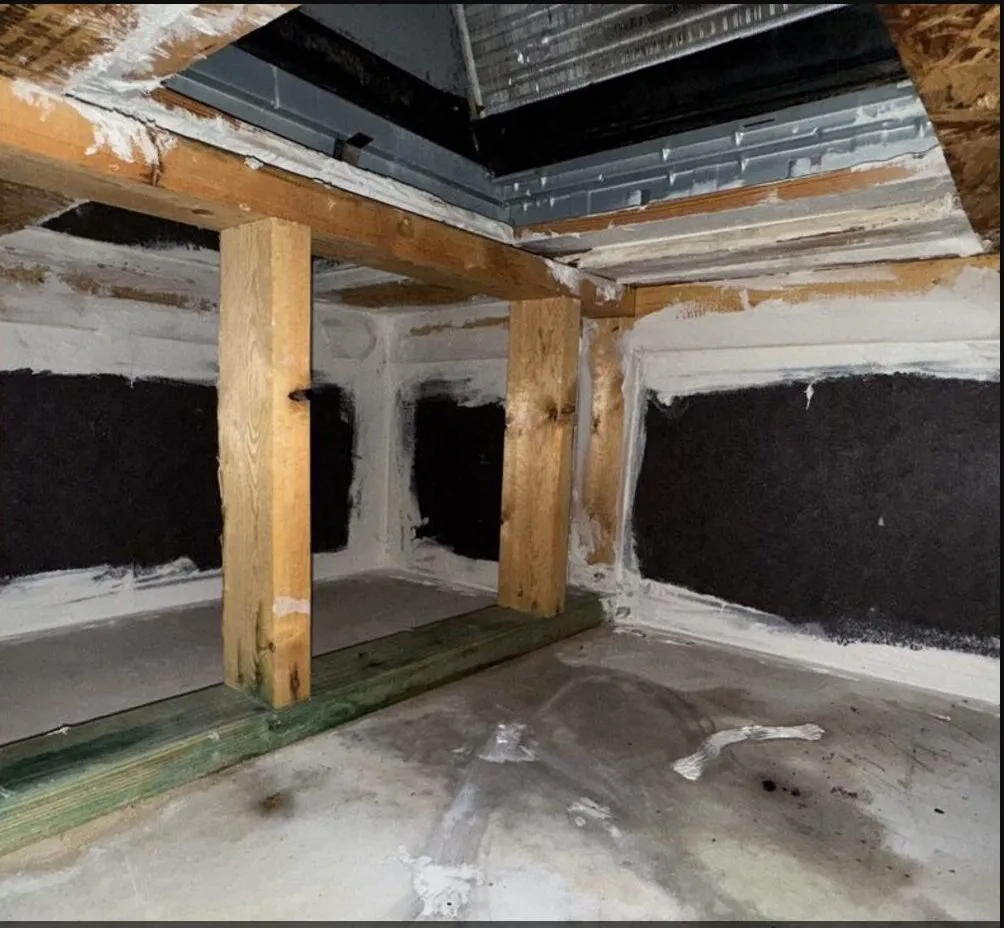
Real dryer vent findings from Central Texas homes, before and after.
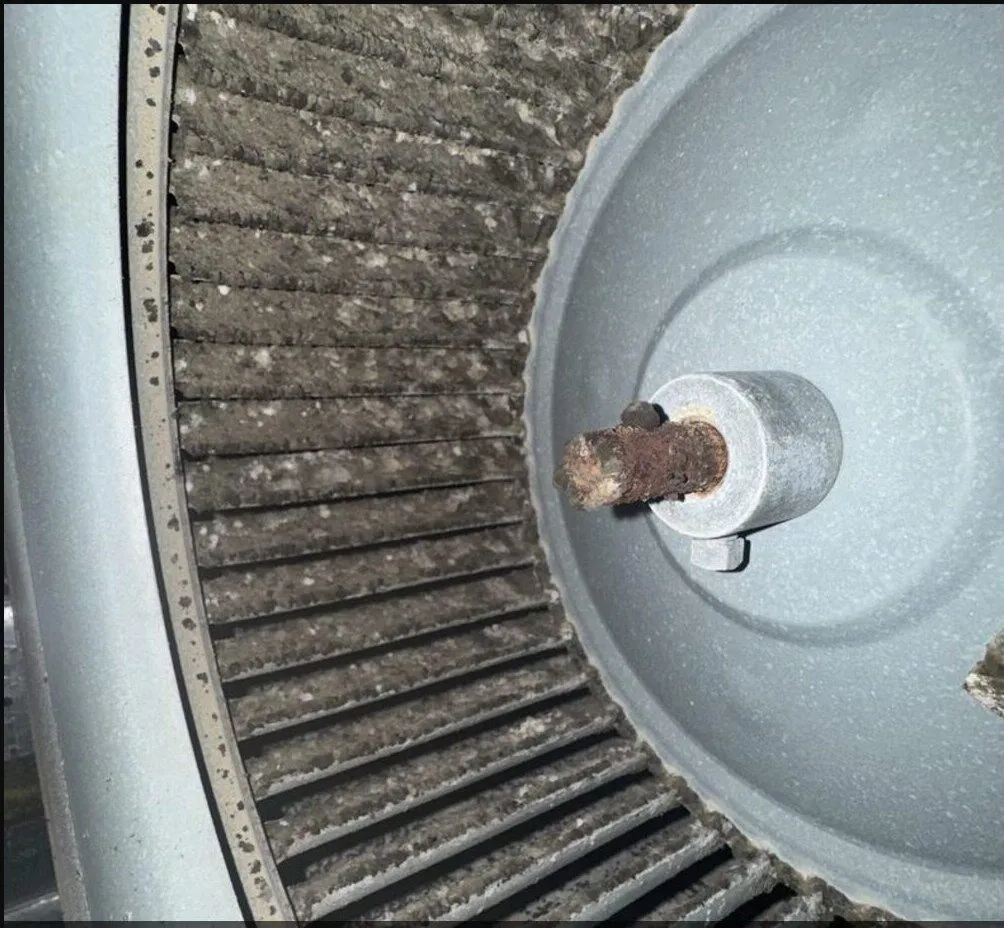
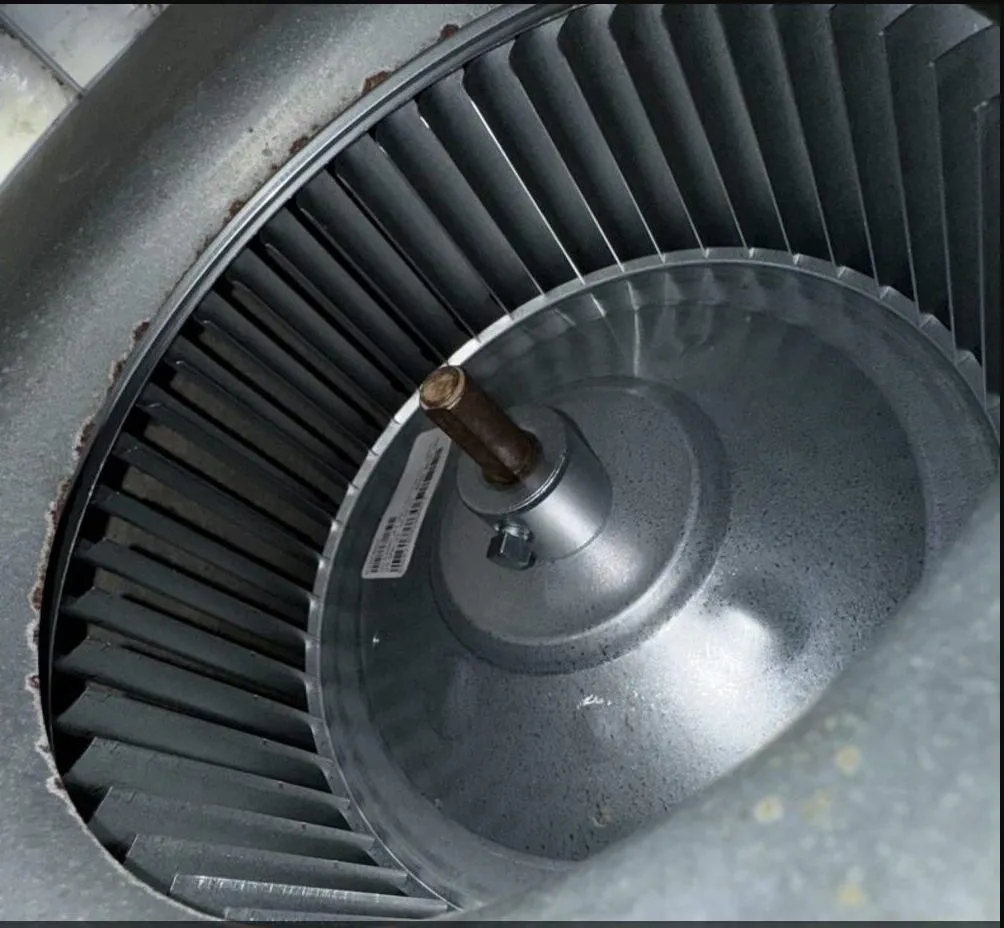 BeforeAfter
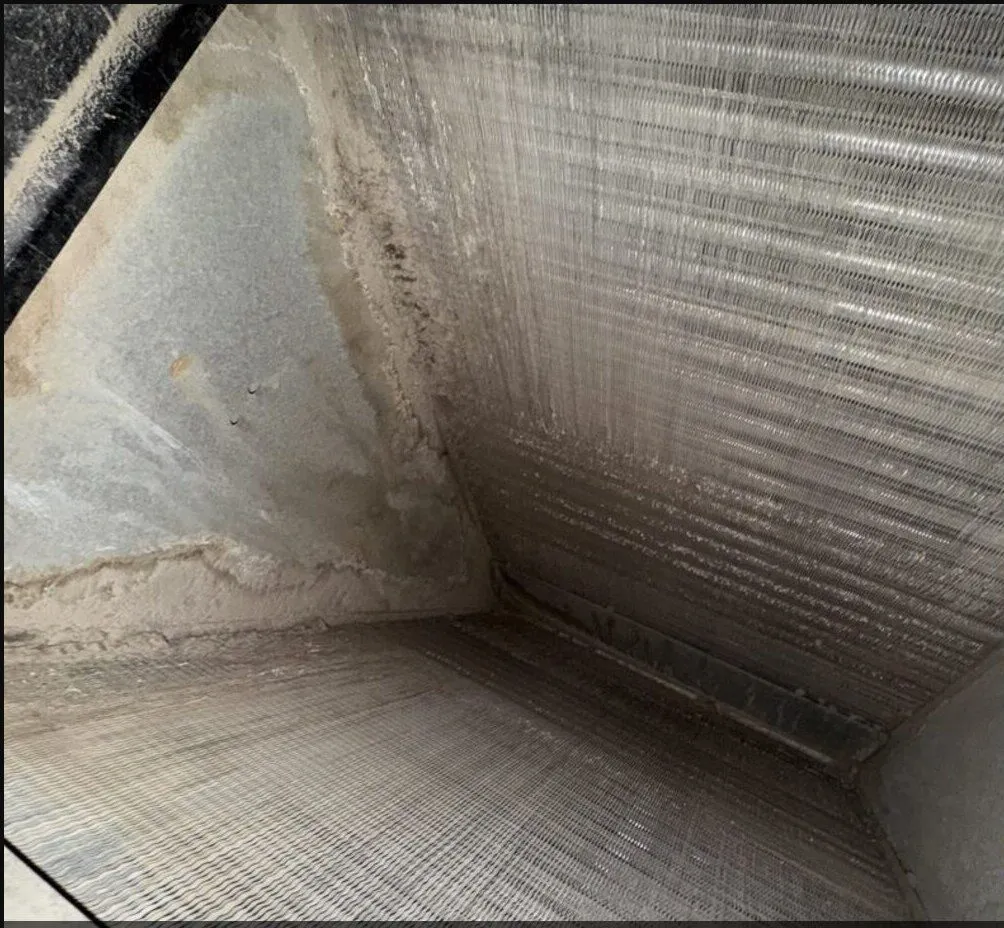
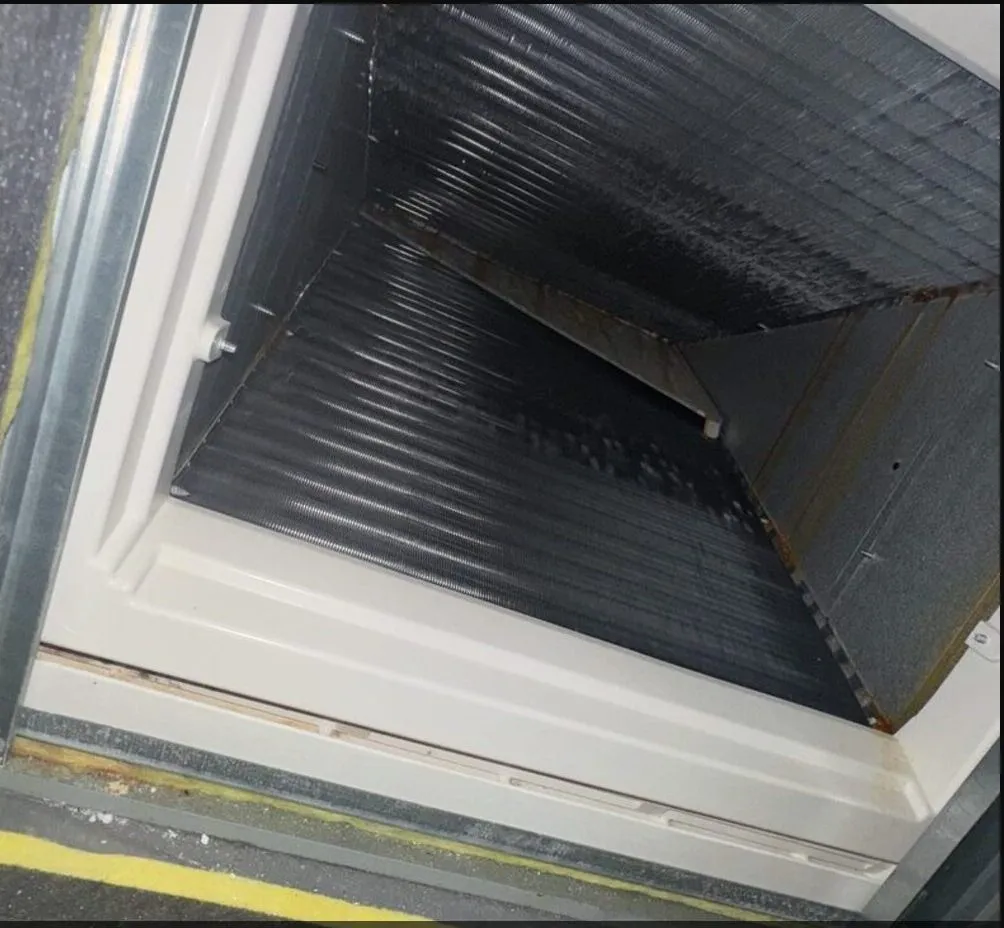 BeforeAfter
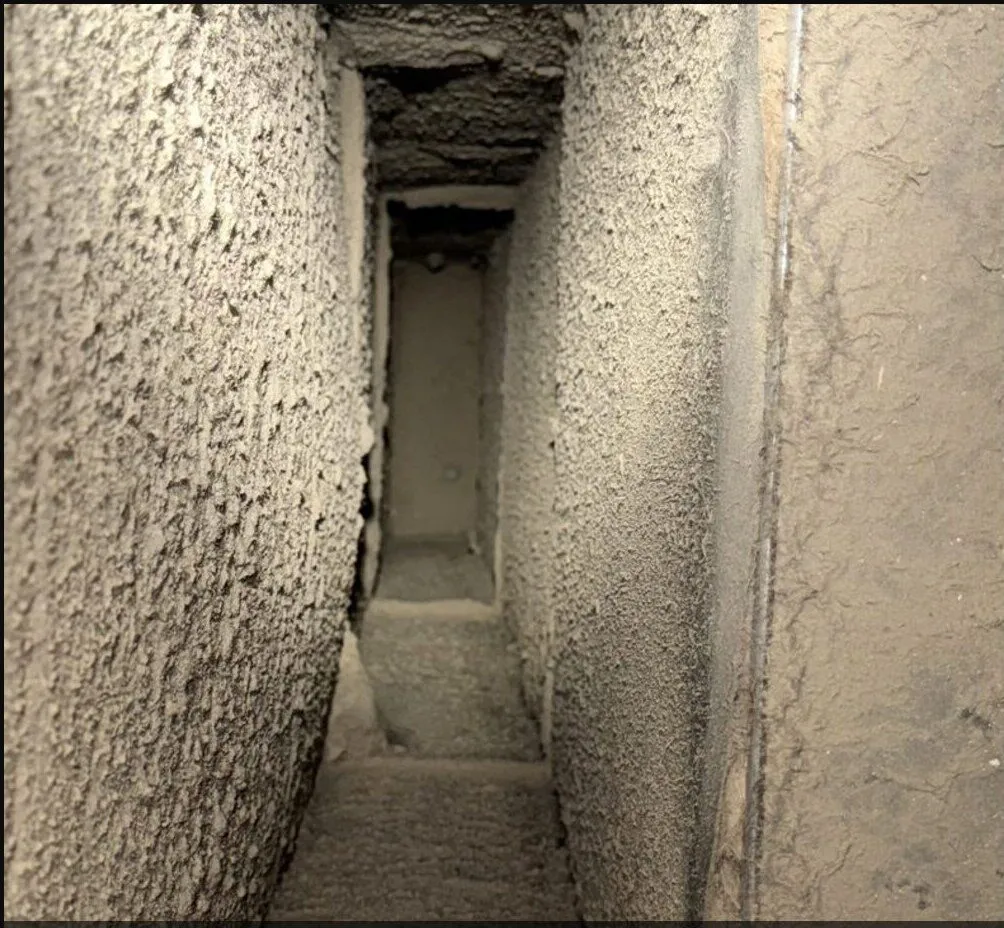
 BeforeAfter
 BeforeAfter
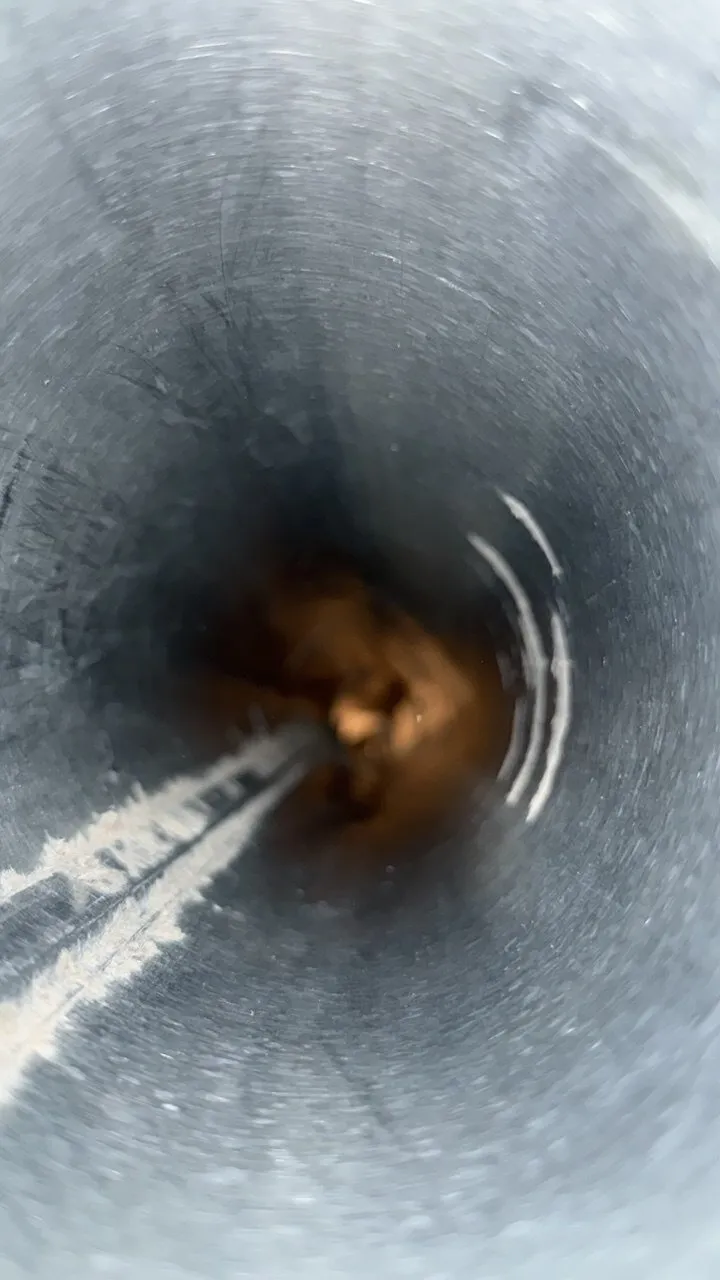 BeforeAfter
Read what local homeowners say about the inspection and the work that followed.
Noah was straight forward and honest with the evaluation of our dryer vent. When he left I knew twice as much about my home and dryer than before he arrived. Very grateful for the peace of mind.
Read on GoogleCalled after a blocked vent broke our dryer. Gary and Noah were able to come out within two days, deep cleaned and inspected in less than 30 minutes, and charged an excellent price for the amount of work they did.
Read on GoogleThey came to do the full inspection of our HVAC system and performed a thorough inspection with photos and a very detailed list of quoted recommendations. Gary and team were punctual the 3 times they came to our home and their price was very reasonable.
Read on GoogleNoah took the time to show us photos from inside the vents and ductwork and clearly explained the level of cleaning needed and why. We really appreciated the transparency and education instead of feeling pressured.
Read on GoogleAir Duct Busters inspects dryer vent systems for homeowners throughout Central Texas, including Marble Falls, Horseshoe Bay, Burnet, Georgetown, Leander and surrounding communities.
Short reads from the crew: what we find in Hill Country homes, what it costs, and what to do about it.
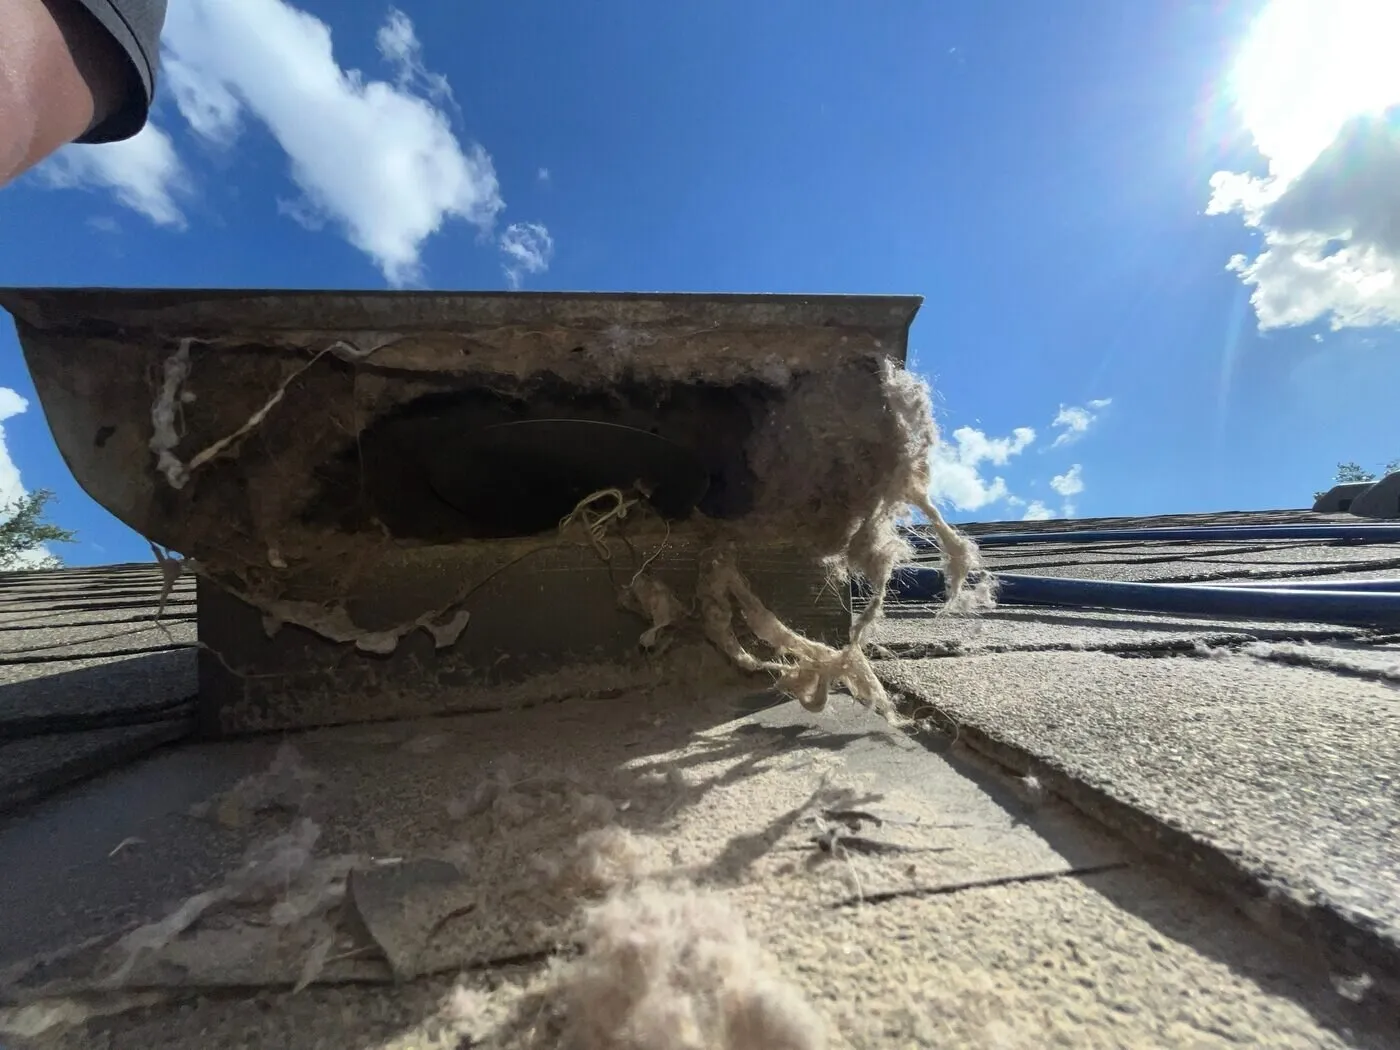
Dryer vents are the most ignored fire risk in the house. How often to clean them, the signs yours is blocked, and why it matters more with long vent runs and roof terminations.
September 7, 2026 · 4 min read
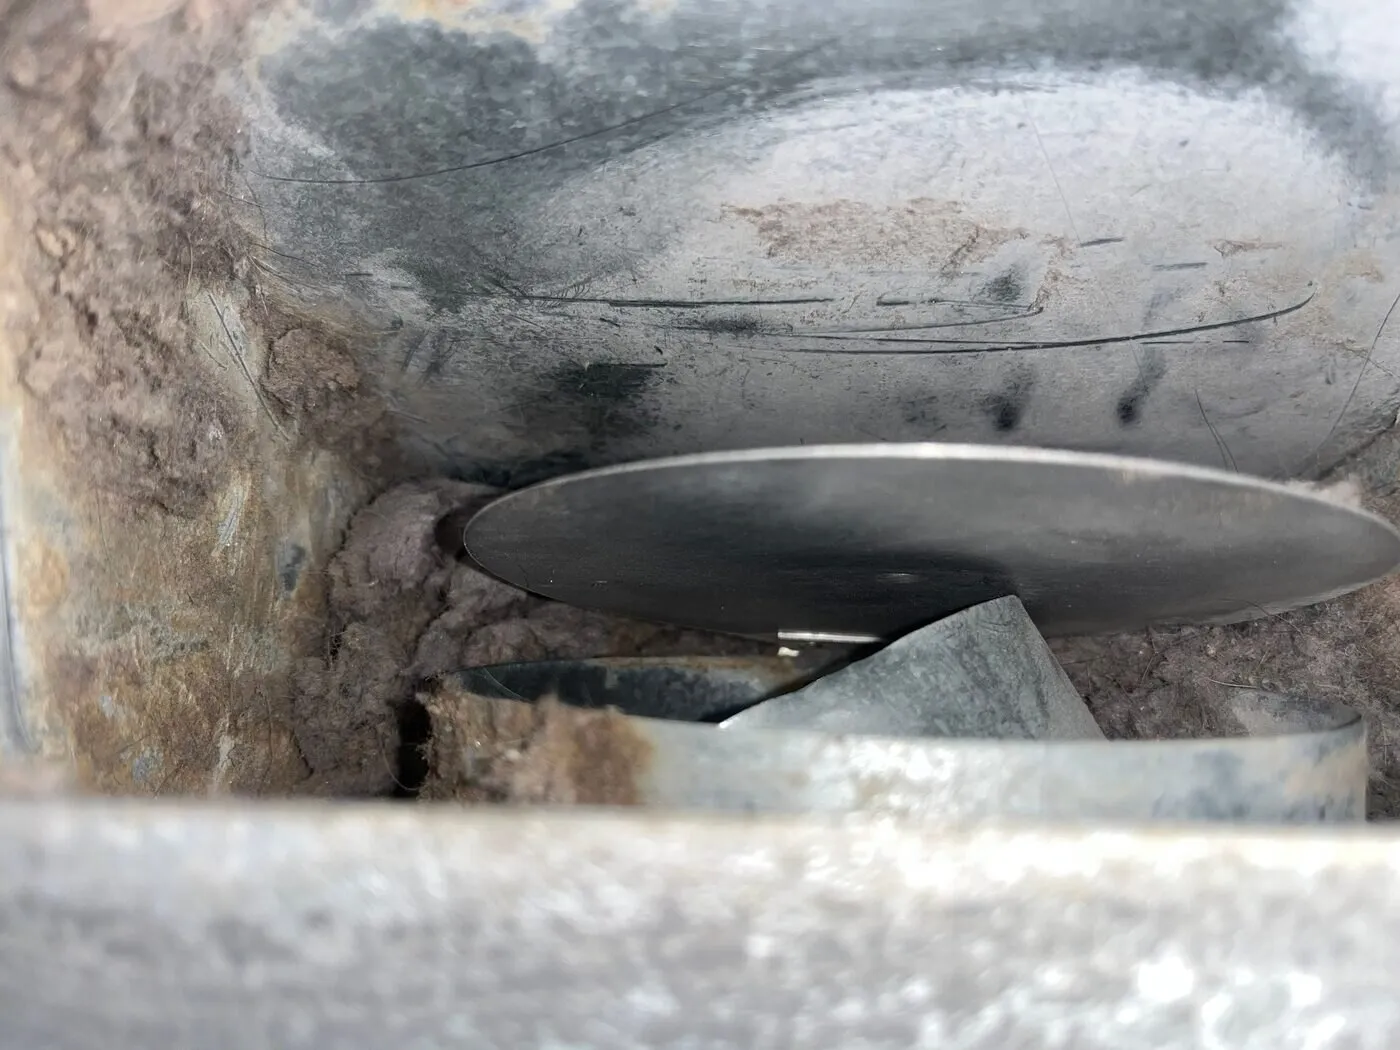
Long drying times are the most common early sign of a blocked dryer vent, not a failing dryer. How to check in five minutes, what the fixes cost, and when the routing itself is the problem.
September 7, 2026 · 3 min read
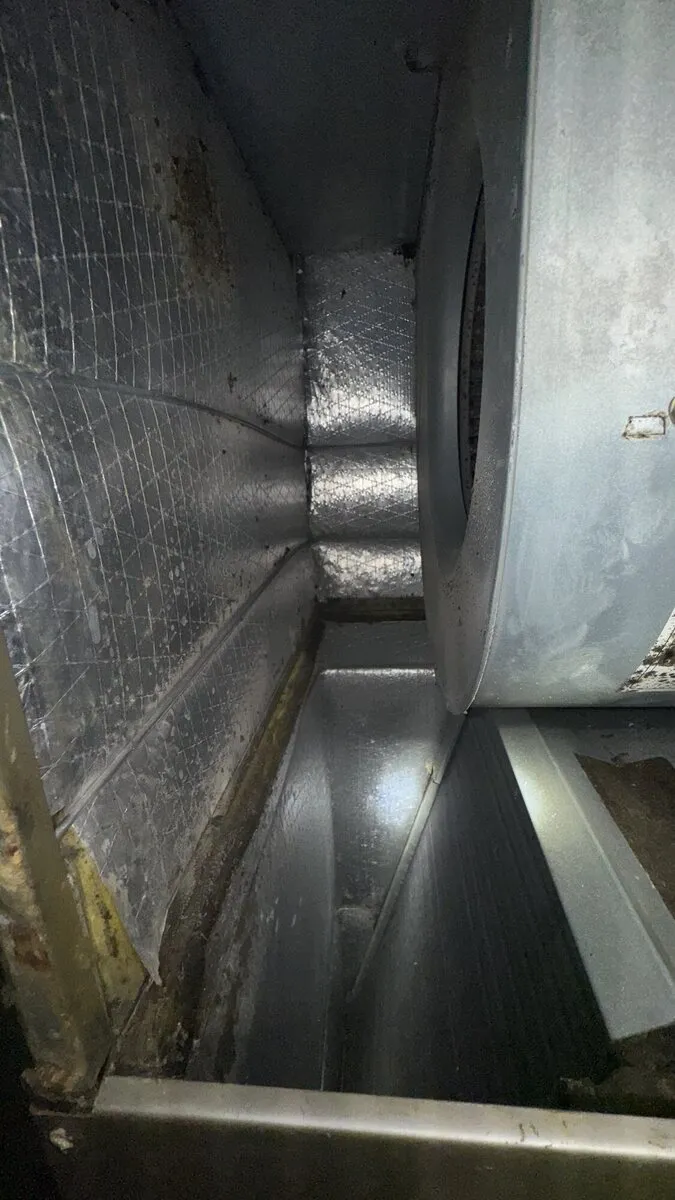
From our job log in Spicewood: 6 recent visits for dryer vent, ductwork, HVAC. Photos from the crew, work as written on the invoice.
September 7, 2026 · 3 min read
Yes, within our service area. About 30 minutes. If the run needs cleaning we can usually do it on the spot after you approve the written price.
Once a year for an average household, sooner with a long run, a roof exit, pets, or a dryer that already takes longer than it used to.
It is the hardest kind to keep clear, because lint has to climb and the cap on the roof is out of sight. Roof exits are also where we find the worst blockages.
Foil or vinyl flex crushed behind the dryer is the most common thing we replace. A short, smooth, rigid or semi-rigid connection is the fix and it is cheap.
We check the lint trap housing and the exhaust port on the back of the dryer, because lint collects there too. Repairs to the dryer itself are not our trade.
Yes, and most customers do. The dryer vent inspection adds about 30 minutes to an air duct inspection.
Leave a number and we call back within the hour to set a window. Photos at every step, written price before any work.
+1 (737) 299 19 19